Green Lady

I realize I’ve been absent nearly all summer and for that I apologize. My dad is 80 and has had a lot of health problems recently including a nearly month-long hospital stay during July. Needless to say, between my dad, kids and work, there hasn’t been much time to do anything worth blogging about. I do have things I want to share and, hopefully, I’ll find some time soon to tell you all about them. In the meantime, I was so excited to see my living room up on RetroRenovation today. This is the second time it’s been on there and today’s story is all about our beloved Green Lady. When J and I saw this painting in a little thrift store in Kentucky back in April 2010, we knew she had to be ours. Plus, at a mere $13.00, the price was right. The only hitch was that we had no place to put it in our house. Fast forward a month and we were unexpectedly putting a bid on our current 1956 modern ranch. We had unknowingly purchased the green lady to hang over our then non-existent fireplace. It was meant to be.
Go over to RetroRenovation to read the history behind this painting. As soon as I got home from Kentucky, I researched her story since neither J nor I had ever seen it before. To find out that she outsold the Mona Lisa was pretty astounding since ML is certainly more well known than GL. In the meantime, I’ll try to do a post later this week. My daughter, K, turned 16 in August (sniff!) and I want to show you the evolution of her room. She was 11 when we moved in and has definitely added her own spin to things.
I hope you’ve had a great summer! I want to go old-school and have you share your “What I Did This Summer” essay in the comments below. Okay, go! Hopefully it was better than mine! (I did get to go up to the Lake this summer for 5 days, which was lovely, so I can’t completely complain.)


New Art

My dad gave me $40.00 for my birthday (thanks, Dad!) this year and I tucked it away until I found something I really wanted. K has a 15 year-old friend named Ryan who is an artist. He recently participated in an art show at a local nature reserve and we went to show our support. As soon as I saw this painting, I knew I wanted it and just where it should hang. I think it’s definitely a great birthday present. I love the blues and have been trying to incorporate more of that color into our home. It’s a nice contrast to all the orange I have going on and I believe it complements the other pieces we already have.

I think it’s a nice addition and it made me feel good to support Ryan. I told my dad what I’d bought and he was very pleased to have a hand in supporting a talented young person as well, which we both feel is very important. Plus, I get to see my present every time we have dinner!
Have you bought any new art lately or been busy creating some? Let me know.
DIY Light Blocker

For a long time, we needed a blind for this little window in our bedroom but I could never quite find exactly what I wanted or needed at a price I was willing to pay. It also occurred to me that somewhere in the bowels of my house, I had a black curtain panel used in our last house that might be useful in such an application. After a two-day search, I finally found it in the basement under the tool bench (???) and started my project. I cut the panel to size, hemmed the sides and used some clip rings and a 40-inch shower tension rod from Bed, Bath & Beyond. I decided to go with a tension shower rod for the stability and lack of permanence in case I decide to upgrade down the road.

It has worked beautifully and only cost around $11.00 for the hardware by using several BB&B coupons. (I love that they stack coupons!)

There is still enough fabric left from the curtain panel to construct some sort of blind or shade for the large window, as well.

We also finally agreed upon, and purchased, a ceiling fan for the master bedroom. It’s only taken a year to decide what to do with the much-despised overhead light. We contemplated something retro and also contemplated a different ceiling fan but could never quite come to an agreement. J still wanted some light overhead but I didn’t want to go with a traditional looking ceiling fan with one of those ugly overhead light kits, so we did nothing. Now that summer is upon us and it’s getting warm in our room at night, I started my search again. Finally, finally, finally, we found one we both agreed upon with nice clean modern lines at a price we could afford but then couldn’t find it in stock anywhere. I contacted Electric Supplies Online and their awesome customer service department (hi, Kristine!) helped me get in the queue for one as soon as they were available. After a month’s wait, I received a shipping notice and it should be here tomorrow.

I can’t wait to get it hung. After a full year, this will bring our master bedroom renovation to completion. Things don’t always move swiftly around here but that might also have something to do with our propensity for jumping around from project to project as the mood strikes as well as a lack of funding. That’s okay, though. After all, slow and steady wins the race, or something like that. What projects are you working on right now?
Favorite Throw
I have been wanting one of these nice soft throws from West Elm for a really long time. It’s one of those things I don’t need, not by any stretch of the imagination. It’s a hard-to-justify purchase, especially with a linen closet full of quilts. I held-off for the longest time, especially when they were near full price with additional shipping charges. Last Sunday, however, the stars aligned, the throw went on sale for $9.99 and I received a free shipping code via email. Sold. 
I love it. I love the color, the quality, the softness and the price. No, I didn’t need it but I sure did want it and it seems like a rather thrifty indulgence. It’s not as thrifty as the side table I just dug out of my neighbor’s trash, which was free, but still not bad considering the original price. Besides, a side table can’t keep me snug and warm on chilly spring mornings.
Apple Strudel

Do you get extra busy this time of year? For us the arrival of Spring also brings soccer, school plays, choir performances, home improvement projects, lawn-tending, etc. I’ve been very busy and have lots of things to tell along with the apple strudel recipe I promised weeks ago.
This recipe comes from a cookbook I found at the library called “Bread Machine Magic“. I bought a used copy on Amazon and have been using it to make all kinds of things in my trusty bread machine. These look more complicated than they really are and taste amazing fresh out of the oven (although they’re quite tasty heated-up the next day). It’s a good way to use-up some over-the-hill apples and could easily be adapted to other fruits or fillings.
Apple Strudel
For the dough (follow your bread machine instructions regarding ingredient order – mine calls for wet items first with dry ingredients on top):
1/2 cup milk
2 eggs
3 cups all purpose flour
1 tsp. salt
3/4 cup butter (1 and a 1/2 sticks), softened
1/3 cup sugar
1 1/2 tsps. active dry yeast
Filling:
2 tbsp. melted butter
3 cups peeled, sliced apples
1 1/2 tbsp. all purpose flour
1/2 cup brown sugar
1 tsp. cinnamon
Icing:
1/2 cups confectioner’s sugar
2 1/2 tsps. milk
Place dough ingredients in bread pan, select “dough” setting and press start.
While the dough is going, peel and slice the apples. Add flour, brown sugar and cinnamon, mixing thoroughly. Divide into fourths in the bowl and set aside. Line a baking sheet with parchment paper or silpat.
When dough has risen long enough, the machine will beep. Turn off bread machine, remove bread pan and turn out dough onto a heavily floured countertop or cutting board. Divide dough into four pieces. Drape a towel over the other three pieces to keep the dough from drying out and, with a rolling pin, roll the remaining piece of dough into a rectangle. Spread the dough with melted butter and line with 1/4 of the apple mixture. Starting from the long end, carefully roll up dough, pinch edges and ends to seal. Plan the roll seem side down on prepared pan. Shape roll into a crescent by curving ends slightly toward each other. Repeat with the other three pieces of dough/apple mixture. Cover and let rise in warm oven about 45 minutes or until doubled.
Preheat oven to 350 degrees F. Bake for approx. 25-30 minutes until brown. Remove from oven and place on rack to cool.
Icing: In a small bowl, combine confectioner’s sugar and milk for the icing, adding enough milk to make the icing thin enough to drizzle on the strudel. Once the strudel has cooled, drizzle icing on top and serve.
These are a huge hit with my family and relatively easy to make.

I know I’ve extolled the virtues of my bread machine before but I seriously love that thing! It’s been well worth the $3.00! We love it so much we bought another one off Craigslist brand new, still in box, after Christmas for $30.00. I have been known to run both at the same time. For instance, the night we had the apple strudel, we also had pizza.

I realize that’s not the most healthy dinner in the world but you can plainly see the veggies on the pizza which made up for it. We’re totally well-balanced around here.
So what have you been up to? Are you busy with lots of spring activity or home improvement projects? I have lots to share with you!
It Only Took Two and a Half Years
Two and a half years ago, I posted about painting the white ‘cracks’ of my cabinet doors. Yesterday, while doing some baking, I finally finished the last of them.

Now every cabinet door and drawer is solid orange.

I can’t tell you how good it felt to finally cross that off my master to-do list. Also, the apple strudel that I baked was super delish and I’ll be back later in the week with the recipe. Right now I’m just going to hang-out in my kitchen and admire my lovely doors.
Did you accomplish anything on your to-do list this weekend or was it nice and relaxing? Share!
New Curtains
Falling well within the category of function over form, I purchased these RITVA curtains from IKEA a couple of weeks ago. At $24.99, they’re a good price for a pair of full-length decent weight curtains.

We’ve had other IKEA curtains hanging in our bedroom for the last four years and they have been great. The only drawback to them is their sheerness, which allows the early morning sun to stream through. I’m such a light sleeper and awaken at the crack of dawn if there isn’t anything to block the light.

These RITVA curtains have helped immensely but I don’t really like how they look. I think I need some blinds behind them to balance things out and further block to the light but everything we do around here is one step at a time. J, however, loves them and thinks they’re perfect but that might be his way of distracting me from spending more money.
At any rate, they’re doing their intended job and they look okay. It’s hard to balance the desire for form over function, though. It seems like there’s been a lot of functional compromise going on in our house lately and I’m feeling itchy to let my creative side take over.
Do you ever get tired of compromising with function over form or do you hold fast to your aesthetic? Please share!
How to Get the Most Bang for Your Buck When it Comes to Kitchen Knives

Lately, J has been doing most of the cooking in our house. I have been swamped with work and not only has he had more time on his hands, he has taken this opportunity to expand his culinary skills. He has read, watched and learned an immense amount over the past six months and really stepped-up his game when it comes to cooking. Consequently, we have been the lucky recipients of some amazing meals. During our kitchen overhaul, J bought a few new knives and wants to share his findings with you. Not only has he found an economic solution, it’s a superior one at that.
J here: I ❤ Chinese chef knives. No longer shall I daydream of owning an $800+ set of German Wüsthof knives when only two or three of these babies will perform just as well or better at a tiny fraction of the cost. I only paid $41 for these three knives including a sharpening stone (+ ~$15 for shipping) and I’ve barely touched my $275 set of Anolons in weeks. No, I’m not crazy. I have my reasons:
Control – Even though they appear large and unwieldy, a little time & practice with them will prove how nimble these are. Since they are a sizable weighty hunk of metal they will do most of the work if they’re sharp enough. No need to force downward pressure on the blade because they just glide through nearly everything with little effort. It’s important to place your index finger on the side of the blade rather than holding it with a full grip like a hatchet. Watch chef Martin Yan give a tutorial and show off his sublime skillz: https://www.youtube.com/watch?v=HV8FPk5qN9k
Safety – With a big rectangular cleaver I know where all of the knife is at all times. I’m never going to get caught by a stray tip because the knife turned. With a normal knife as I put my knuckle parallel I can’t lift the blade too high or I could cut myself but if I lift my finger too high it will be over the top of the spine. With the cleaver the sky is the limit as to how far I can lift. I raise my knuckle just above the food and I have ~4 inches of leeway before my knuckle is over or under the knife.
Value – When your knife only costs $10 it’s hard to worry too much about destroying it. Two of these knives are stainless steel which require very little maintenance. The one on the bottom is made of carbon steel which will practically rust in your kitchen when it’s raining outside (not really). Clean it immediately after using, then wipe it COMPLETELY dry. Wipe a few drops of cooking oil on it to inhibit rust. The advantage of carbon steel is how wickedly sharp it can be, while the stainless are a bit tougher to keep a super sharp edge on. if your carbon gets a little spotty just rub some Barkeeper’s Friend on it to take off the rust. Good as new. It’s very similar to cast iron cookware which is also an incredible value. If somehow I lost all my worldy possessions and had to start over, a couple Chinese chef knives and a cast iron skillet would be among the first purchases I’d make. Of course you can spend $40 or even $400 on a Chinese chef knife. If you got it flaunt it.
Bad-assedness – These things just look the business. Not only could I scare off any solicitors or Jehovah’s Witnesses answering the door with one of these in hand, but they just look so bad ass hanging in my kitchen on a magnetic strip. I also feel like I’m in a kung fu movie or something when I’m only chopping onions to feed the family.
The three knives have different functions. The thickest cleaver at the top is for heavy duty bone chopping. The middle one for cutting thicker items like pineapples and hard root vegetables. The carbon steel knife is for ultra thin slices of veggies or boneless meats.
Here’s where you can buy 2/3 of these knives and a sharpening stone.
• The thick meat cleaver I bought at a local Asian grocery store for $13 and there was only one left. You can buy a similar one here: http://wokshop.stores.yahoo.net/meatcleaver.html
• The middle stainless knife is a Winco KC-101 I bought on Amazon for $10: http://www.amazon.com/Chinese-Cleaver-Wooden-Handle-2-Inch/dp/B003HESNR8
• The carbon steel veggie knife was purchased online from the Wok Shop in San Francisco: http://wokshop.stores.yahoo.net/vegcleav.html
Make sure you buy the large sharpening stone too: http://wokshop.stores.yahoo.net/sharston.html
Here’s a video on how to sharpen them. Make sure you soak your whetstone first: https://www.youtube.com/watch?v=jIycmyzrcF0

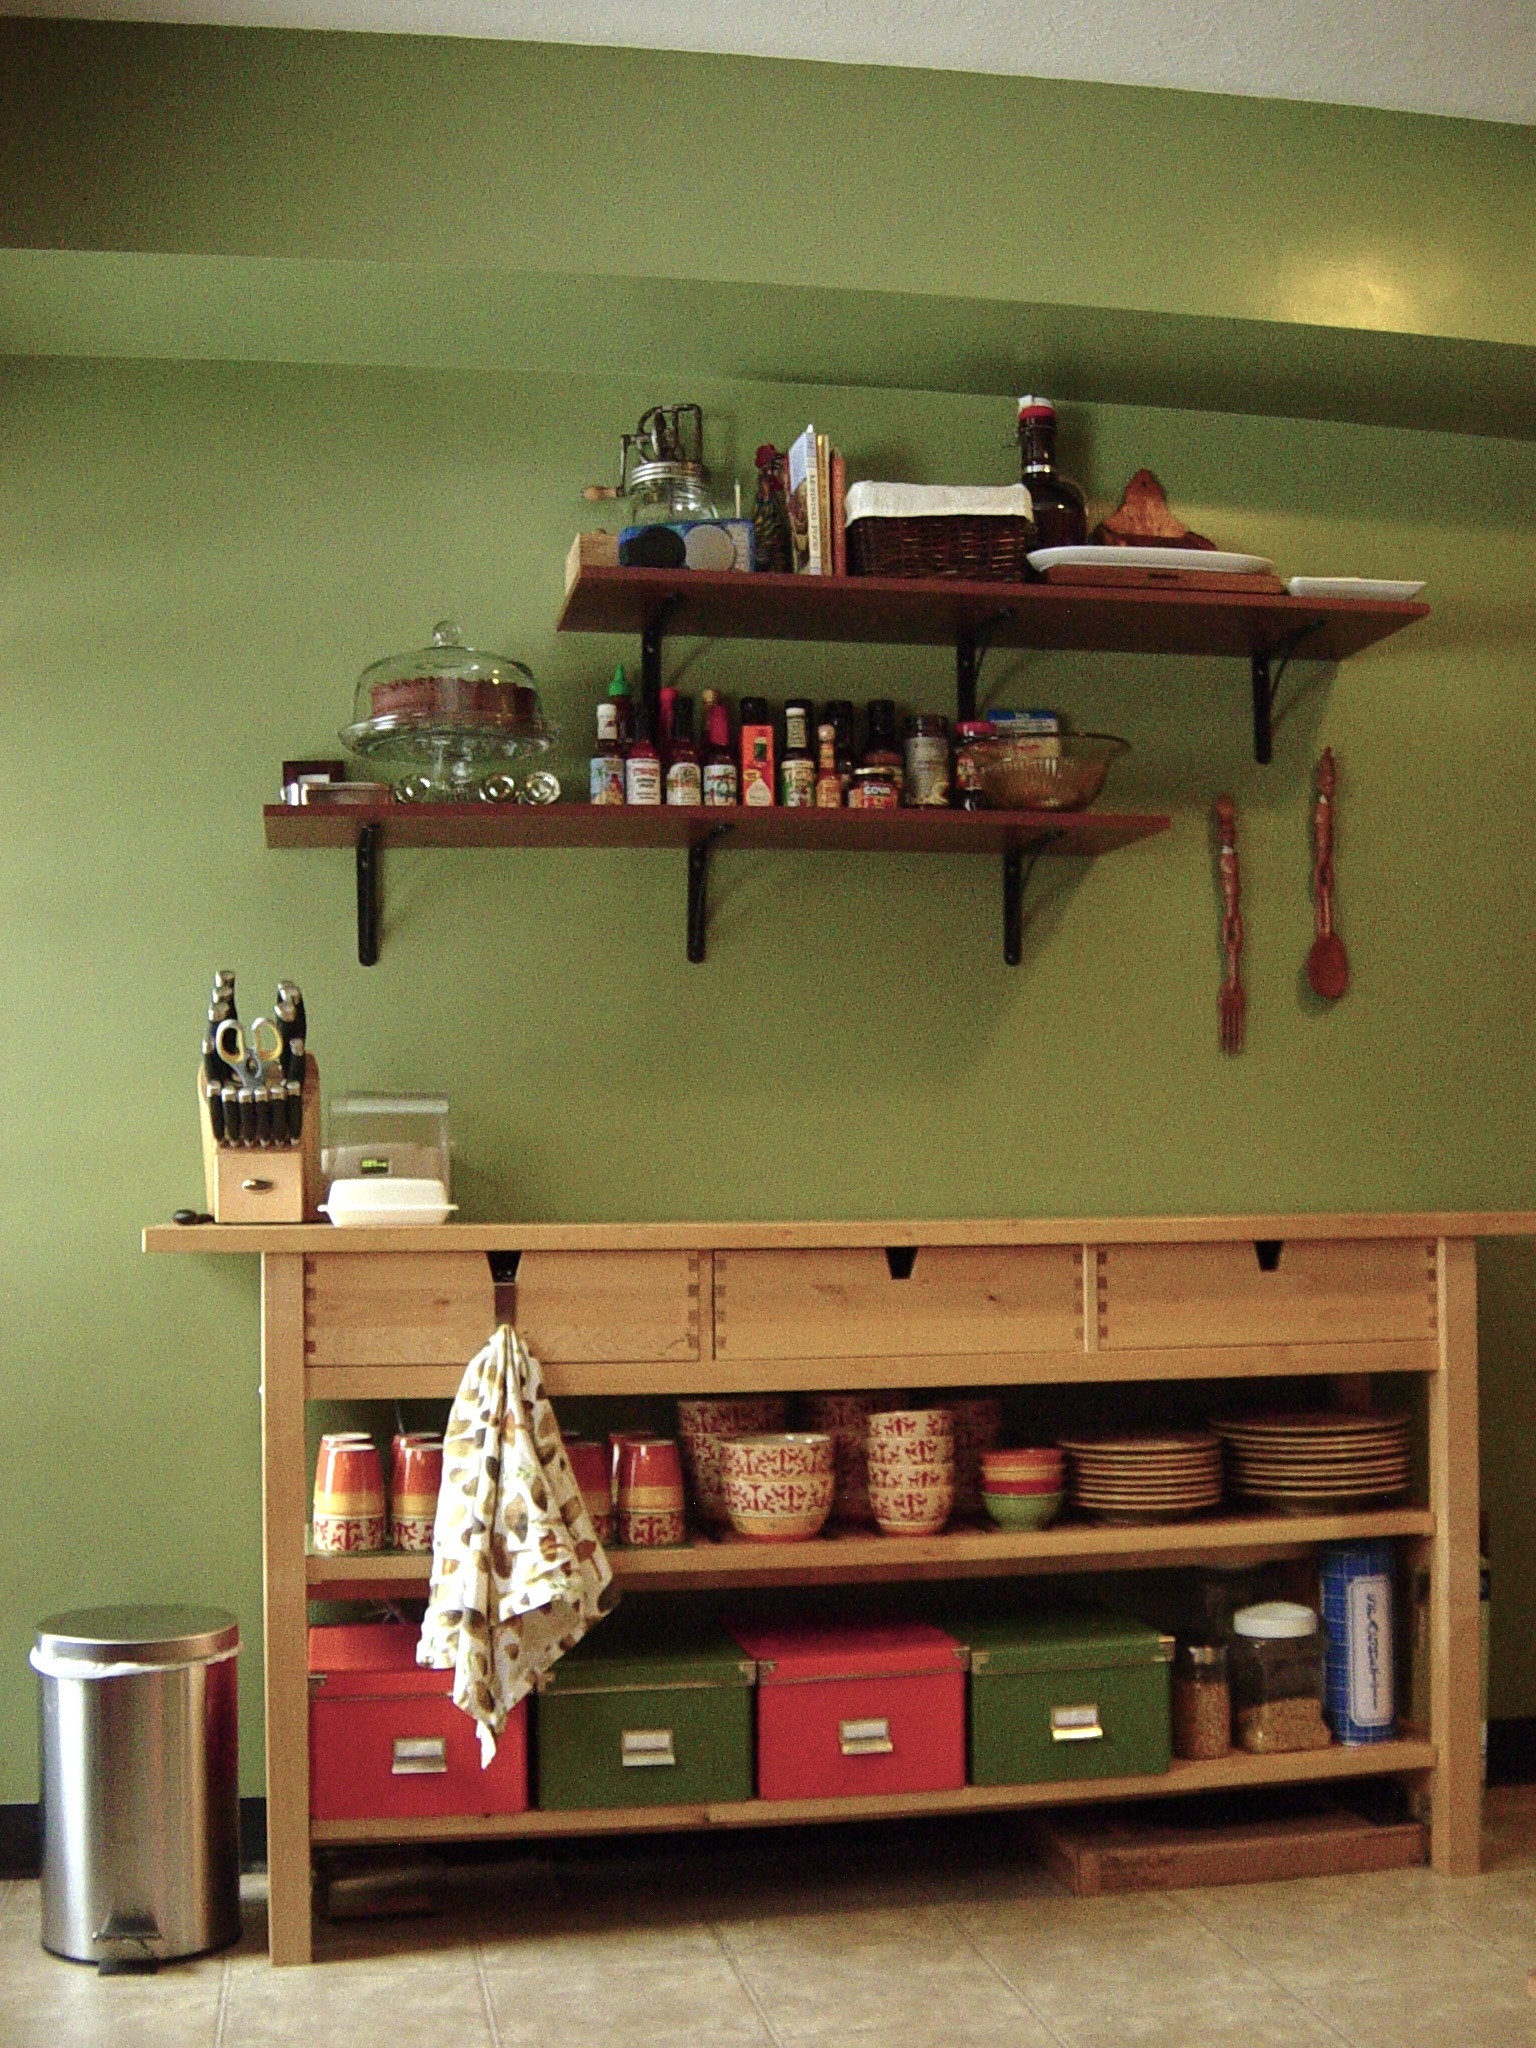
So that’s J’s take on these knives. I want you to focus on that magnetic knife strip. That’s where I come into the picture. A couple of weeks ago I was shopping with one of my BFF’s and we hit the Kitchen Collection store in an outlet. I had printed a 20% off one item coupon before I left because I knew I was going after a particular magnetic knife strip. It was marked at $13.99 online but when I got to the store, the tag was marked $11.99 and I ended-up getting it for $10.31 with the coupon and sales tax. After that we headed to a new casino that had opened a few miles away where they were giving out $15.00 in “free play”. Now, make no mistake, I am too cheap to be a real gambler but if they want to give me $15.00 to play with, I will. I managed to make $12.41 real money on my “free play”, so it paid for my knife strip with a couple of bucks to spare. As J mentioned above, all-in-all, this knife upgrade has cost us $41.00. Along with our $9.99 IKEA cutting board, we have certainly enhanced our kitchen.

What about you? How do you get the most bang for your buck in the kitchen? Any good tips to share?